How to Install an Outdoor Security Camera
Introduction
In today’s world, ensuring the safety of our homes and businesses is more important than ever. Outdoor security cameras play a pivotal role in this endeavor, offering not just surveillance but also a deterrent to potential intruders. In this article, we will walk through the step-by-step process of installing an outdoor camera. From assessing your specific needs and planning the installation to the actual mounting and configuration of the camera, this guide aims to provide you with comprehensive instructions to ensure your property is monitored effectively and securely.

Step 1: Assessing Your Needs and Planning
Determining the Purpose
Before embarking on the installation process, it’s crucial to determine the primary purpose of your outdoor camera. Are you looking to deter potential intruders, monitor specific areas of your property, or just keep an eye on general activity? Your objectives will influence the type of camera you choose, its placement, and the features you require.
Choosing the Right Location
The location of your camera is critical. Ideally, it should cover the most vulnerable areas of your property like entrances, driveways, and backyards. However, it’s important to ensure that your camera doesn’t infringe on your neighbors’ privacy. A general rule of thumb is to position the camera so it focuses only on your property.
Camera Angles and Field of View
Understanding the camera’s field of view is essential in planning the installation. A wider field of view means more area coverage but may result in less detail for distant objects. Conversely, a narrow field of view captures more detail but in a smaller area. Experiment with different angles to find the best compromise between coverage and detail.
Selecting the Right Camera
When choosing an outdoor camera, consider features like weather resistance, night vision, and resolution. A weatherproof camera is a must to withstand elements like rain, snow, and extreme temperatures. Night vision capabilities are crucial for 24/7 monitoring, and higher resolution cameras provide clearer images, which can be vital in identifying intruders or other important details.

Step 2: Tools and Materials Needed
Before beginning the installation, gather all the necessary tools and materials. This ensures a smooth and uninterrupted installation process.
Tools Required
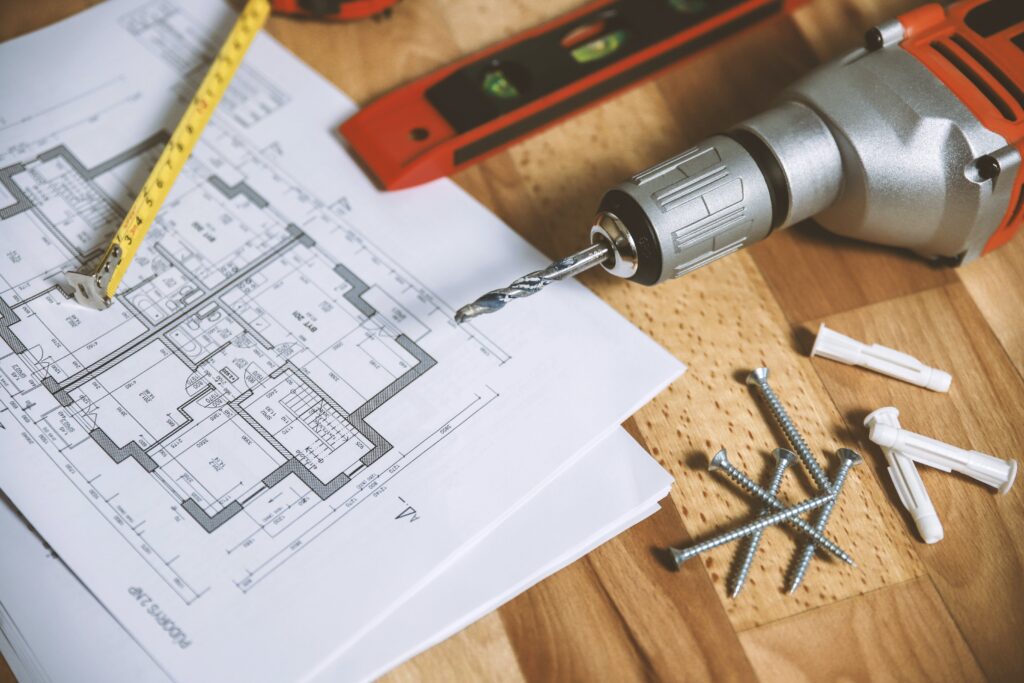
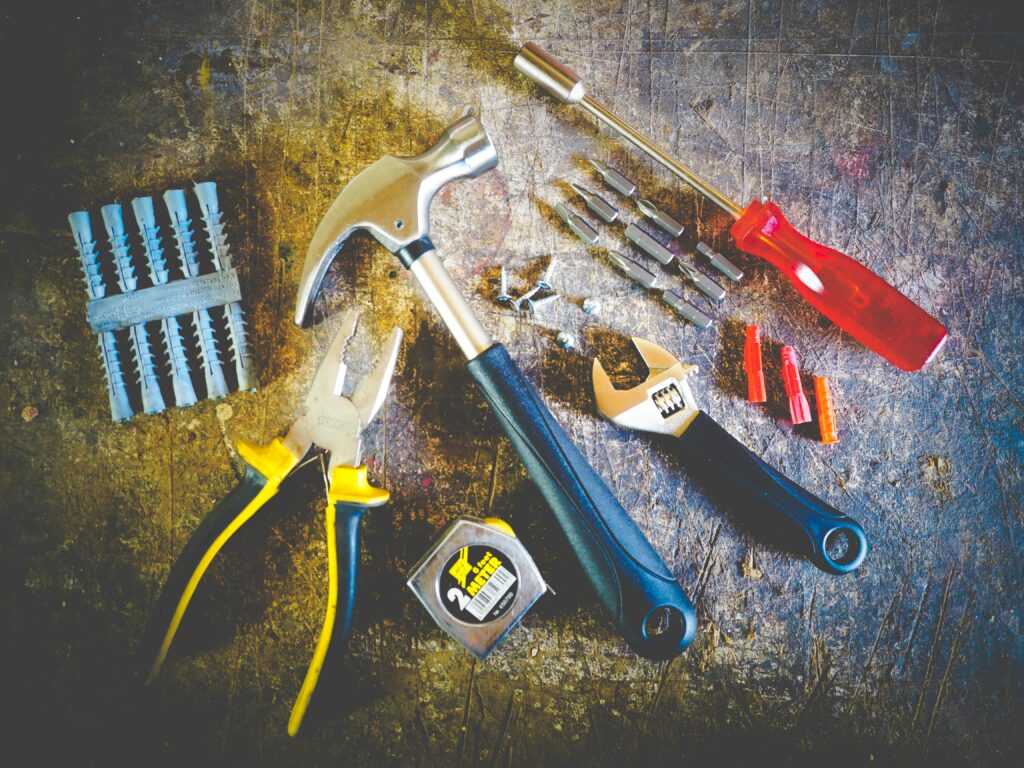
- Drill and drill bits (appropriate for your wall material)
- Screwdriver
- Ladder (for high placements)
- Wire strippers and cutters (if dealing with wired cameras)
- Level (to ensure the camera is perfectly horizontal or vertical)
Materials Needed
- The outdoor camera
- Mounting kit (usually included with the camera)
- Screws and wall plugs
- Weatherproofing materials (like silicone sealant)
Safety Equipment
- Gloves (to protect your hands)
- Safety goggles (when drilling)
- A second person to assist with the installation (ex. Holding the ladder)

Step 3: Pre-Installation Steps
Planning is key to a successful installation. Here are the steps to follow before you start drilling holes.
Conducting a Site Survey
Walk around your property to identify the best locations for camera installation. Look for spots that provide a broad view and are out of easy reach to avoid tampering.
Understanding the Camera’s Field of View
Mark the intended camera position and angle. Consider using a mock-up or a mobile app, if available, to simulate the camera’s field of view.
Legal Considerations
Familiarize yourself with local laws regarding surveillance and privacy. Ensure your cameras don’t point directly into neighbors’ properties or spaces where people expect privacy.

Step 4: Installing the Camera
Installation can vary slightly depending on the camera model, but the basic steps are generally the same.
Mounting the Camera
- Mark the Drill Points: Use the mounting bracket as a template to mark where holes need to be drilled.
- Drill Holes and Insert Wall Anchors: Drill holes at the marked points and insert the wall anchors(if mounting into a stud no wall anchors are needed typically)
- Attach the Mounting Bracket: Screw the mounting bracket into place.
- Mount the Camera: Attach the camera to the bracket and adjust the angle as needed.
Wiring and Power Setup
- For wired cameras, route the cables to the power source and DVR/NVR if applicable. Use wire moldings or conduits to protect and conceal the wiring.
- For wireless cameras, ensure a strong Wi-Fi signal at the camera’s location.
Connecting to a Network
- Connect the camera to your home network following the manufacturer’s instructions.
- Ensure your Wi-Fi network is secure to prevent unauthorized access.

Step 5: Configuration and Testing
Once the camera is installed, it’s time to configure and test it.
Configuring Camera Settings
- Access the camera’s settings through the manufacturer’s app or software.
- Adjust settings like resolution, motion detection sensitivity, and recording schedules according to your needs.
Testing the Camera
- Check the live feed to ensure the camera covers the desired area.
- Test the motion detection and night vision features.
- Adjust the settings as needed for optimal performance.
Step 6: Maintenance and Troubleshooting
Regular maintenance ensures your camera continues to function effectively.
Maintenance Tips
- Clean the camera lens regularly for clear footage.
- Check and replace weatherproofing sealants as needed.
- Ensure software and firmware are up-to-date.
Troubleshooting
- If the camera isn’t working, check power sources and connections.
- For network issues, verify Wi-Fi strength and router settings.
- Consult the manufacturer’s support for specific troubleshooting steps.
Conclusion
Installing an outdoor security camera can significantly enhance your property’s security. By following the steps outlined in this guide, you can ensure a successful installation. Regular maintenance and staying informed about technological advancements will keep your security system effective. Remember, a well-installed and maintained outdoor camera not only provides peace of mind, serves as a strong deterrent to potential intruders, but also is a great way to take your safety to the next level.
